Welcome back to the Set Up Your Food Blog series!
In the last post, you stepped inside your WordPress dashboard for the first time — like walking into a brand‑new kitchen with empty counters and endless possibilities.
Now it’s time to decorate your space.
This stage is all about:
- adjusting your WordPress settings
- installing your first theme
- choosing a design that matches your cooking style
- making your blog feel like you
Think of this as choosing your kitchen layout and décor before you start cooking. Nothing complicated. Just simple, beginner‑friendly steps.
📣 Please note: Some links in this post are affiliate links. If you make a purchase through them, I may earn a small commission — at no extra cost to you. Think of it as a tiny thank‑you for sharing my favorite culinary finds. Your support truly means a lot.

Step 1: Update Your Basic WordPress Settings
Before you decorate anything, let’s make sure your foundation is set up properly.
Inside your WordPress dashboard: Settings → General
Update:
- Site Title — your blog name
- Tagline — s short description of your blog
- Time Zone — set to your local time
- Admin Email — one you check often
These small details help your blog run smoothly behind the scenes.
Step 2: Set Your Permalinks (Important for SEO)
Go to: Settings → Permalinks → Post name
This gives you clean, SEO‑friendly URLs like: yourblogname.com/post-name
Instead of: yourblog.com/?p=123
This one tiny step helps Goggle understand your content better.

Step 3: Install Your First Theme
What is a WordPress theme?
It’s a pre‑designed template that gives your blog structure and style. It controls:
- your homepage layout
- how your recipes are displayed
- your fonts and colors
- your menus and widgets
- how your site looks on mobile
💡 This of it like choosing the décor for your restaurant. Cozy or modern café? Sleek or rustic? Your theme sets the mood.
Inside your dashboard: Appearance → Themes → Add New
Search using keywords like: food blog, recipe, minimal, modern, clean
Click Preview to see how it looks. Click Install → Activate when you find one you love. Don’t overthink this. You can always change your theme later.
Here’s what matters most, when it come to choosing a theme.
✔ Mobile‑Friendly – Most readers browse recipes on their phones while cooking.
✔ Clean Layout – Avoid clutter. Choose a theme that makes your recipes easy to read.
✔ Recipe Plugin Compatibility – Make sure it works well with plugins like WP Recipe Maker or Tasty Recipes.
✔ Customization Options – You want flexibility without needing code.
✔ Fast Loading – Speed matters — for SEO and for hungry readers.
Here are a few beginner‑friendly themes that work well for a food blog:
| Theme | Why It Works |
|---|---|
| Ashe | Clean, elegant, easy to customize |
| Foodica Lite | Designed for food blogs with recipe card support |
| Kale | Minimalist, mobile‑friendly |
| Neve | Fast, flexible, beginner‑friendly |
| Bento | Highly customizable with drag‑and‑drop options |
Step 4: Customize Your Theme
Go to: Appearance → Customize
Here’s what you can adjust:
- logo, colors, and fonts
- homepage layout and menu
- header image and sidebar widgets
Now the fun part — decorating your online space. This is where your personality starts to shine.

Want More Design Control?
If you want to go beyond basic customization, try:
- Elementor — drag‑and‑drop design
- Kadence Blocks — lightweight and flexible
- Beaver Builder — great for beginners
These are plugins that let you design your blog like a pro — without touching code.
You’re Personalizing Your Online Kitchen, One Step at a Time
You’ve gone from dreaming of blogging to customizing your blog’s look and feel. This is where your creativity meets your cooking style.
Your blog is slowly becoming a space that reflects your culture, flavors, voice, and your story.
And you’re doing it without tech overwhelm.
What’s Next in the Series?
Now that your setting and theme are ready, it’s time to add the tools that make your blog functional.
👉 Next up: The Essential WP Plugins Every Food Blogger Needs
👉 Missed the previous post?
How to Customize Your WordPress Settings and Choose Your Theme
How to Choose Your Niche, Domain, and Hosting
And if you haven’t signed up to a hosting yet:
👉 Start your food blog with Bluehost here
(It’s the same hosting I use — and you’ll get a sweet deal through my link)
Ready to finally start your food blog without overthinking every step, I’ve put together a FREE 30‑Day Grid View Challenge — a simple day‑by‑day roadmap you can download or print. It’s perfect if you just want clarity, structure, and a gentle push to stay consistent.
But if you prefer a guided experience with daily instructions and walkthroughs, you can upgrade to the 30‑Day Food Blogging Challenge Step‑by‑Step Guide.
Start with the free grid.
Upgrade anytime if you want the full guided version.
Your food blog can absolutely begin today.
And don’t forget to check out what’s new on our shelf, you’ll find helpful blogging resources and stress-free meal planning printables to download or print.
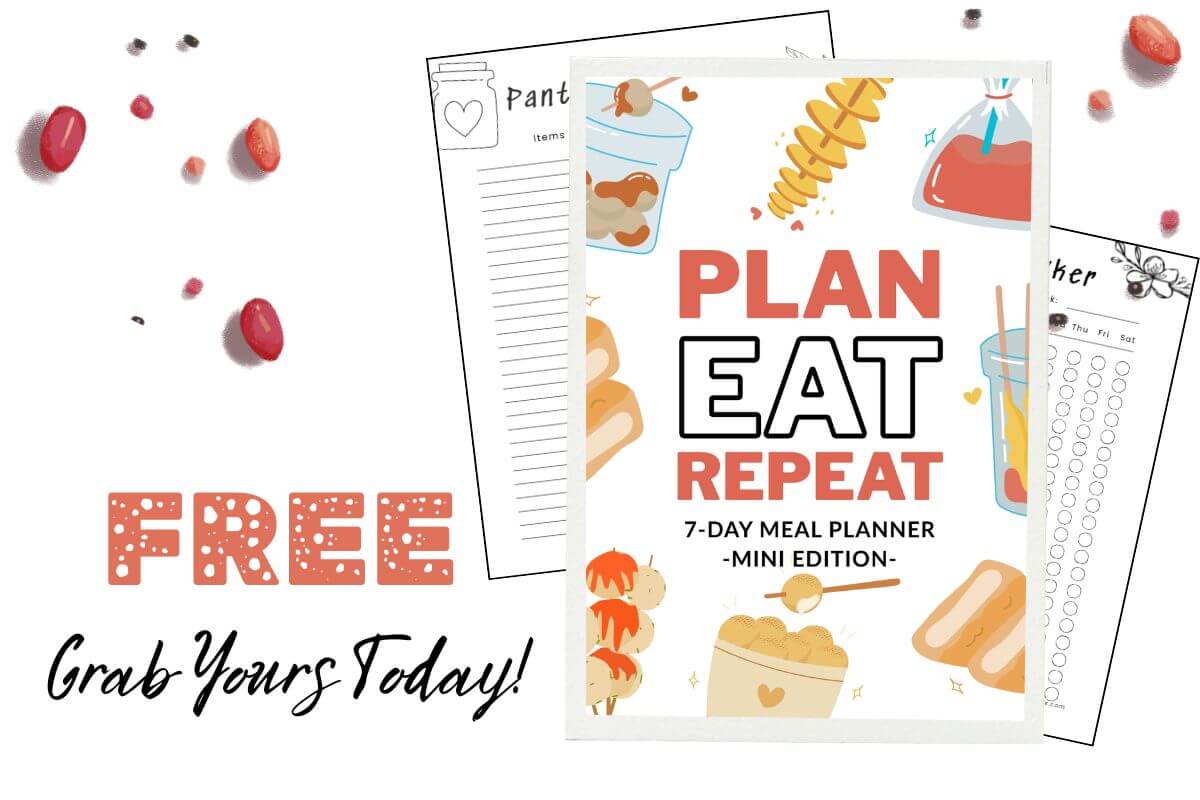
Want an easier way to plan your meals?