If you’ve been following up with my last few posts on how to setup your food blog, by now, you’ve chosen your niche, installed WordPress, customized WP settings and theme, and added your essential plugins. Your food blog is finally taking shape.
Now it’s time to learn what helps your recipes get discovered by people who aren’t already following you:
SEO.
And before you roll your eyes or think, “SEO sounds too techy,” let me reassure you — this guide is written with beginner-friendly steps that actually work.
SEO doesn’t require coding.
It doesn’t require fancy tools.
And it definitely doesn’t require being “good at tech.”
Think of SEO like seasoning your food. A little goes a long way — and once you understand the basics, everything you publish tastes (and performs) better.
Let’s break it down in the simplest way possible.
📣 Please note: Some links in this post are affiliate links. If you make a purchase through them, I may earn a small commission — at no extra cost to you. Think of it as a tiny thank‑you for sharing my favorite culinary finds. Your support truly means a lot.

What Is SEO (In Food Blogger Language)?
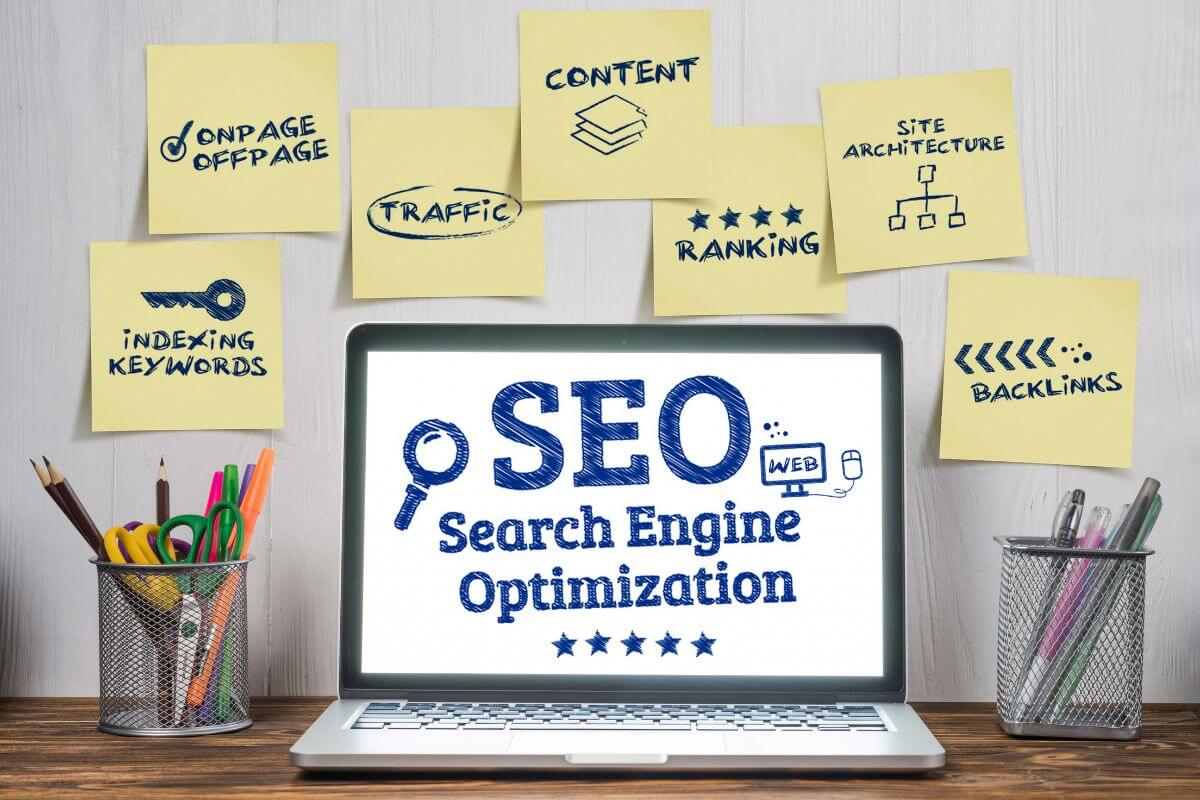
SEO = helping Google understand your content so it can show it to the right people.
When someone searches:
- “easy egg fried rice recipe”
- “Quick breakfast ideas”
- “vegan weeknight dinners”
Google decides which blog posts to show first.
SEO helps your recipes show up in those results — even if you’re a brand‑new blogger.
Why SEO Matters for Food Bloggers
Most food bloggers don’t optimize their posts properly. That means you can stand out by doing the basics well.
SEO helps you:
- get more traffic
- rank for long‑tail keywords
- attract readers who want your exact recipes
- build authority in your niche
- grow without relying on social media
And once you learn the basics, it becomes part of your natural writing flow.
Step 1: Choose a Long‑Tail Keyword (50–500 Searches)
Long‑tail keywords are:
- specific
- low‑competition
- easier to rank for
- perfect for new blogs
Examples:
❌ “egg fried rice” (too broad)
✔ “quick and easy egg fried rice for beginners”
❌ “shrimp recipe”
✔ “spicy air-fried pepper shrimp recipe”
❌ “layered vanilla cake”
✔ “5 ingredient, cream cheese filled, strawberry vanilla cake”
Use tools like:
- Google autocomplete
- AnswerThePublic
- AlsoAsked
- Ubersuggest (free version)
Pick one keyword per post.
Step 2: Place Your Keyword in the Right Spots
Once you choose your keyword, sprinkle it naturally in:
- your blog post title
- your first paragraph
- your recipe card title
- your image alt text
- your meta description
- your URL slug
- 1–2 subheadings
Think of it like seasoning — enough to add flavor, not so much that it tastes forced.
Step 3: Write a Helpful, Skimmable Post
Google loves content that:
- answers questions
- is easy to read
- is helpful
- is well‑structured
For recipe posts, include:
- a short intro
- a story behind the recipe
- ingredients + substitutions
- step‑by‑step instructions
- tips + variations
- FAQs
This structure helps both readers and Google.
Step 4: Use a Recipe Card Plugin (Non‑Negotiable)
Recipe cards help Google understand:
- cooking time
- servings
- ingredients
- instructions
- nutrition info
This is called recipe schema, and it’s essential for ranking.
Recommended plugin:
👉 WP Recipe Maker (works beautifully with RankMath)
Step 5: Add Internal Links (Google Loves This)
Internal links help Google understand your site structure.
Examples:
- Link your “fried rice recipe” to your “lunch ideas” post
- Link your “vanilla cake” to your “cake recipes” post
- Link your “dinner recipes” posts together
Internal links = stronger SEO + longer reader sessions.
Step 6: Optimize Your Images
Food blogs are image‑heavy, and visuals are part of your storytelling — but they also play a huge role in SEO.
Google can’t “see” your photos, so it relies on the text you attach to them to understand what’s in the image.
Here’s how to make every photo work:
1. Rename Your Image Files
Before uploading, rename your files with descriptive keywords.
Example:
❌ IMG_1234.jpg
✔ perfect-scrambled-eggs-recipe.jpg
This helps Google understand your photo before it’s even uploaded.
2. Add Alt Text (Accessibility + SEO)
Alt text describes what’s in the image for both search engines and visually impaired readers.
Keep it short, natural, and descriptive — like you’re explaining the photo out loud.
Example:
> “Perfect scrambled eggs served in a skillet with fresh herbs.”
💡 Tip: Avoid keyword stuffing. One clear sentence is enough.
3. Write a Caption (Reader Engagement)
Captions appear under your images and are one of the most‑read parts of a blog post.
Use them to add personality or context.
Example:
> “Fluffy scrambled eggs — simple, comforting, and ready in five minutes.”
Captions make your post feel conversational and keep readers scrolling.
4. Add an Image Description (Pinterest + Google Images)
Descriptions help your images rank in Google Image Search and Pinterest.
Write 1–2 sentences that include your keyword naturally.
Example:
> “A close‑up of perfectly cooked scrambled eggs with soft curds and fresh herbs. Ideal for breakfast lovers and beginner cooks.”
5. Compress and Format Your Images
Use Smush or a similar plugin to reduce file size without losing quality.
Save photos as JPG for food photography or WebP if your plugin supports it.
Smaller files = faster site = better SEO.
Step 7: Write a Strong Meta Description
Your meta description is the little preview text under your Google result.
Keep it:
- short
- clear
- keyword‑rich
- helpful
Step 8: Use a Plugin like RankMath SEO (Beginner‑Friendly)
RankMath gives you:
- keyword scoring
- readability tips
- schema setup
- meta description editor
- internal link suggestions
It’s like having a mini SEO coach inside WordPress.
Step 9: Be Consistent (SEO Loves Routine)
SEO is a slow cooker, not an air fryer.
You won’t see results overnight — but with consistency, your traffic grows steadily.
Aim for:
- blog posts per week
- optimized recipe cards
- internal linking
- clean images
- helpful content
Small steps → big results.

You’re Building SEO Confidence — One Post at a Time
Look at you — learning SEO, optimizing your content, and building a blog that Google can actually understand.
You don’t need to be techy. You don’t need to be perfect. You just need to keep showing up.
And you’re doing exactly that.
What’s Next in the Series?
Now that you understand SEO basics, it’s time to learn how to track your growth.
👉 Next up: Essential Pages Every Food Blogger Should Create
👉 Previous post: Essential WordPress Plugins Every Food Blogger Needs
A Little Something to Keep You Organized
When I was learning SEO and building my blog, I struggled to keep my real kitchen running too. Between testing recipes, writing posts, and learning SEO, it felt like I was juggling two kitchens at once.
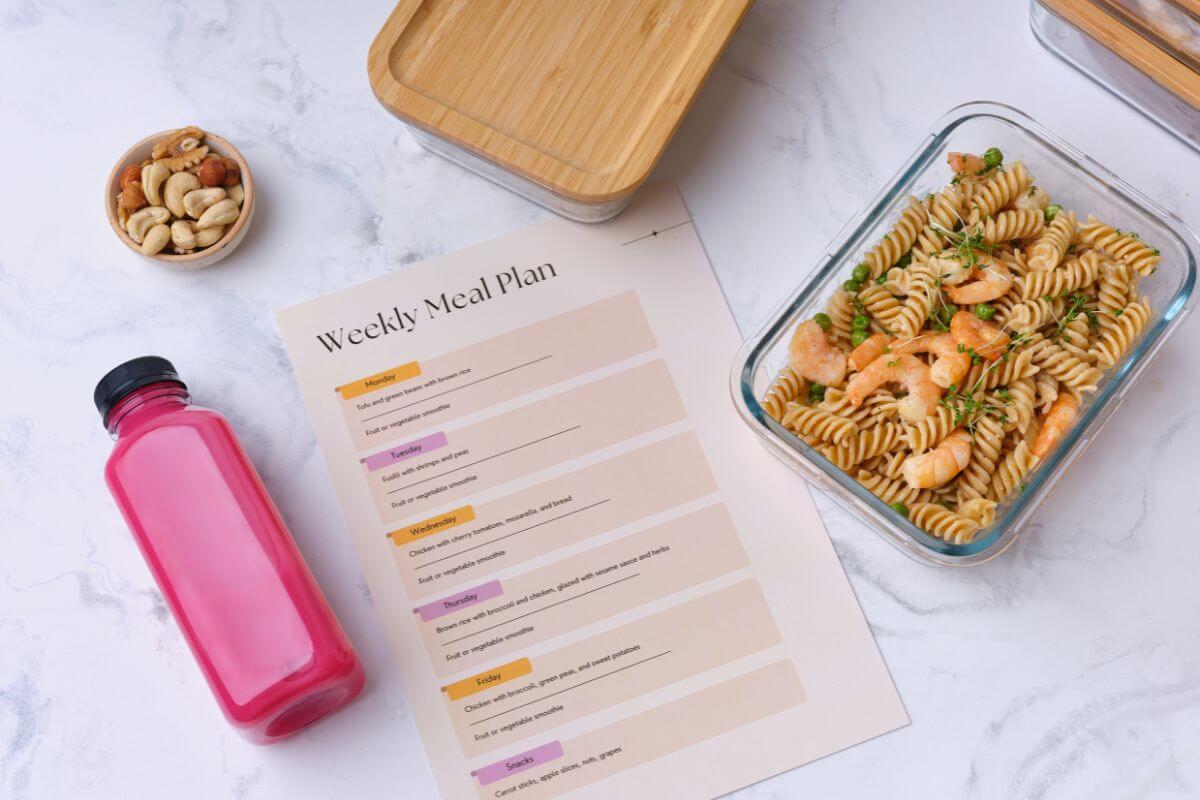
That’s exactly why I created my DIY Meal Planner — to help you stay organized while you build your blog without burning out.
👉 Grab your DIY Meal Planner here but if your not ready for one yet, try my weekly meal planner it’s available FREE for a limited time
👉 Start your blog with Bluehost here (you’ll get the best deal just for being a foodie)
Want an easier way to plan your meals?