You’ve set up your food blog, created your essential pages, and published your first recipe. Now it’s time to think about how to bring readers back and turn occasional visitors into a community.
One of the best ways to do that is by building an email list.
Social media can help people discover your recipes, but an email list gives you a direct way to stay in touch with readers who want to hear from you. Unlike social media platforms, where algorithms affect who sees your content, your email list is an audience you own and can reach directly.
In this guide, I’ll walk you through how to choose an email platform, create a signup form, offer a useful freebie, and send emails that keep readers interested. You don’t need a big audience or complicated tools to get started.
📣 Please note: Some links in this post are affiliate links. If you make a purchase through them, I may earn a small commission — at no extra cost to you. Think of it as a tiny thank‑you for sharing my favorite culinary finds. Your support truly means a lot.
Why Food Bloggers Need an Email List
Social media is useful for getting your recipes in front of new people, but you don’t control how often your posts appear in someone’s feed. Algorithms change, reach can drop, and older posts can quickly get buried.
An email list gives you another way to reach people who have chosen to hear from you. It also helps you build stronger relationships with readers by staying connected beyond a single website visit.
You don’t need thousands of subscribers to make a start. A small list of people who genuinely enjoy your content is a good place to begin.
Step 1: Choose an Email Marketing Platform
Before collecting email addresses, you’ll need an email marketing platform. This is where your subscriber list is stored and where you create and send your emails.
A few options worth looking into are:
- Mailchimp: Offers email campaigns, signup forms, and automation features.
- Kit (formerly ConvertKit): Built with creators in mind, including bloggers who want to grow an audience and share digital products.
- MailerLite: Offers email marketing, forms, landing pages, and automation tools.
Each platform has different features, pricing, and subscriber limits. Compare the current plans before choosing one, especially if you want to send automated emails or deliver a free download when someone signs up.
You don’t need every feature when you’re starting out. Choose a platform that feels easy to manage and has the tools you need now. You can always change or upgrade as your blog grows.
Step 2: Create an Email Signup Form
Once you’ve chosen your platform, create a signup form so readers can join your email list.
Keep the form simple. Usually, a name field (if you need it) and an email address field are enough. Tell readers what they’ll receive when they subscribe. A clear message gives people a reason to sign up.
You can create a form using your email platform’s built-in form builder or connect it to WordPress using a compatible plugin. If you’re using WordPress, many email marketing platforms provide official integrations that make setup straightforward. My guide to essential WordPress plugins for food bloggers can help you understand the tools available.
You’ll also need to decide what happens after someone submits the form.

Test the form yourself before adding it to your website. Check that the email address is recorded correctly and that any confirmation or delivery email arrives as expected.
Step 3: Offer a Freebie Your Readers Will Want
Why should someone subscribe to your email list?
A useful freebie can give them a good reason to do it.
A freebie is a resource you offer in exchange for someone signing up. For food bloggers, it should relate to the kind of content readers already come to your blog for.
Think about the problems your readers want to solve. Someone who visits your blog for quick family dinners might appreciate a weekly meal planner. Someone who follows your baking recipes might prefer a baking measurement conversion chart.
The freebie doesn’t have to be long or complicated. It just needs to be useful and easy to access.
For example, here at Berrychik, I offer a free 7-day meal planner to help readers organize their meals for the week using a planning system.
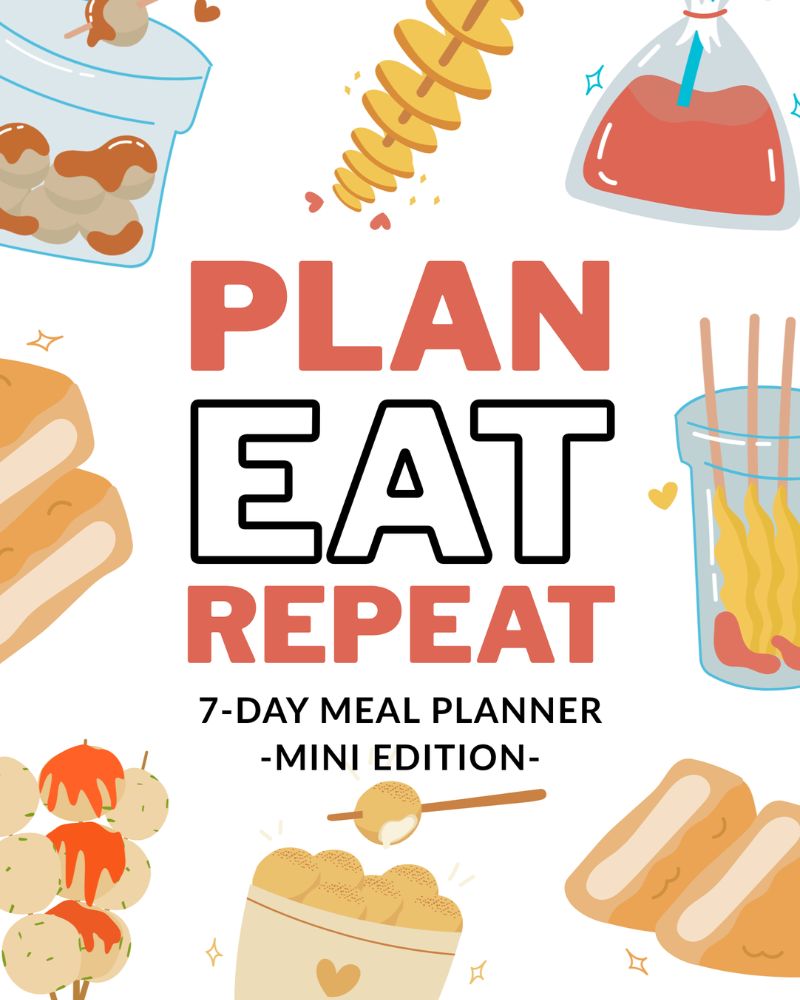
If you’re building your own freebie, Canva is one option for creating great printables. Keep the layout easy to read and make sure the finished file works well on a phone as well as when printed.
Step 4: Promote Your Freebie and Grow Your List
Creating a freebie is only one part of growing your email list. Readers need to know it exists.
Once your signup form and freebie are working, start sharing them in places where your audience is already spending time.
Here are a few ways to promote your freebie:

- Your homepage: Add a clear invite for visitors to download your free resource.
- Relevant blog post: Include a short signup invite where the freebie naturally fits the topic. For example, a grocery planning printable could be featured within meal-planning or recipe articles.
- Your About page: Give new readers another way to stay connected.
- Pinterest: Create pins that show the benefit your freebie and link to the signup page.
- Social media: Share what the freebie helps readers do, rather than simply sayiing it is free.
- Your newsletter link or social bio: Make it easy for people who discover you elsewhere to find your signup page.
You don’t need to place a signup form everywhere. Choose a few useful locations and make sure the message fits the content around it.
Once people start joining your list, the next step is keeping them engaged and giving them a reason to stay subscribed.
Step 5: Send Emails That Keep Readers Engaged
Getting someone to subscribe is a good start, but what happens after they join?
Don’t leave new subscribers wondering what they signed up for. A welcome email gives you the chance to introduce yourself, deliver your freebie, and explain what they can expect from your emails.
A simple welcome email can include:

- A thank-you for subscribing
- A link to the freebie they requested
- A short intro to you and your blog
- A reminder of why they subscribed, what they’ll receive, and how often
- A link to one or two useful articles they might enjoy
After the welcome email, decide on a newsletter schedule you can maintain. You could send emails weekly, every other week, or once a month. The important thing is to set a realistic schedule and let subscribers know what to expect.
You don’t have to write a long newsletter every time. A short email with one useful idea and a link to read more on your blog can be enough.
After you’ve been sending emails for a while, it’s helpful to review what’s working and where you can improve.
Step 6: Track Your Email Marketing Results
As your list grows, take some time to check how your emails are performing. Your email platform will usually provide reports that help you understand what readers are responding to.
Some useful numbers to monitor include:
- Subscriber growth: Are people joining your list?
- Click-through rate: Are readers clicking the links in your emails?
- Unsubscribes: Are people leaving your list after certain emails?
- Email engagement: Which topics and messages are getting a response?
Use the information to make practical improvements.
For example:
- If your signup form gets very few subscribers, review the freebie, wording, and form placement.
- If readers open an email but don’t click, check whether the links are relevant and whether the next step is clear.
- If unsubscribes increase, review how often you send emails and whether your content matches what people expected when they signed up.
- If one topic gets more clicks than others, consider sharing more useful content around that subject.
One thing to remember: email open rates are not always an exact measure of how many people read your message. Privacy features and email software can affect how opens are recorded. Use clicks and other engagement signals alongside open rates rather than relying on one number.
You can also use what you learn to plan future freebies. If readers are interested in your meal planner, for example, a grocery list or meal-prep guide could be a useful next resource.
Quick Note About mail Marketing Rules
Before sending emails, make sure people agree to receive them and can easily unsubscribe.
In Canada, CASL generally requires permission before sending marketing emails. Include your contact information and an unsubscribe link in every email.
This is general information, not legal advice.
Start Small and Build from There
Growing an email list takes time. You don’t need a huge audience, a complicated funnel, or a new freebie every week.
Start with one email platform, one signup form, and one useful freebie. Make sure the signup and delivery process works, then send a welcome email and keep in touch with subscribers on a schedule you can manage.
As your blog grows, pay attention to what readers respond to and use that information to improve your emails and resources.
The goal isn’t just to collect email addresses. It’s to build a direct connection with readers who enjoy your recipes and want to hear from you again. Over time, that connection can help encourage repeat visits to your blog and keep readers engaged with your content.
What’s Next…
👉 Next up (Coming Soon): How to Launch Your Food Blog Like a Pro
And if you haven’t signed up yet:
👉 Start your blog with Bluehost here
(It’s the same hosting I use — and you’ll get a sweet deal through my link.)