Your WordPress site is styled, your essential pages are ready, and your plugins are installed. Now it’s time to write your first recipe blog post. The one that introduces your cooking style and sets the tone for everything you’ll publish next.
But before you start typing inside WordPress, let’s begin where every great recipe starts:
👉 Inside your kitchen, cooking the dish.
This guide will show you how to write a recipe post that’s easy for readers to follow and easy for Google to understand. Plus, you’ll learn how to create a reusable layout you can use for every future recipe, saving you time and keeping your blog consistent.
Let’s walk through it in steps.
📣 Please note: Some links in this post are affiliate links. If you make a purchase through them, I may earn a small commission — at no extra cost to you. Think of it as a tiny thank‑you for sharing my favorite culinary finds. Your support truly means a lot.
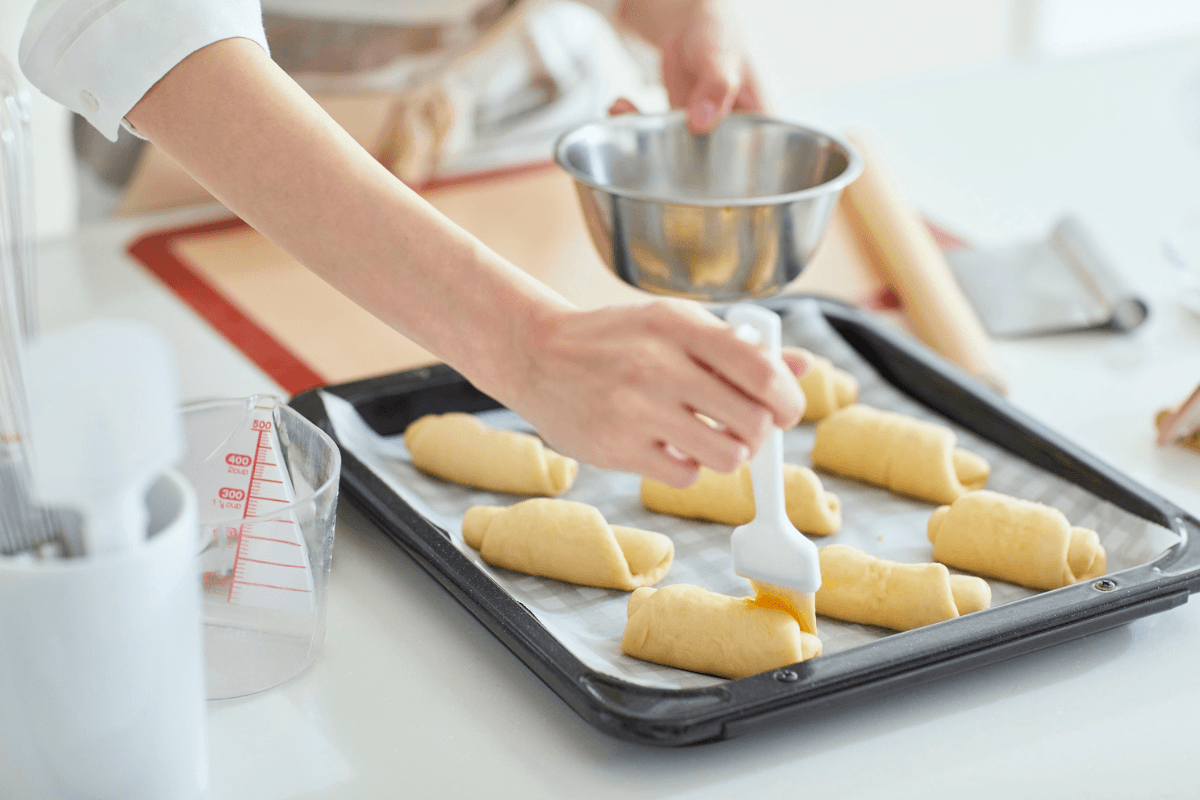
Step 1: Develop Your Recipe (Your Test Kitchen Phase)
Choose a recipe that feels like “you.” Something you love making and would happily serve to friends or family. It should be:
- easy to follow
- visually appealing
- something with a story or memory behind it
- a dish you can explain clearly
✔ Document everything
As you cook, take notes on:
- ingredients
- measurements
- timing
- texture
- flavor
- substitutions
- serving suggestions
- adjustments you made
These notes help you write a recipe that feels helpful and trustworthy — and they make your post more SEO‑friendly because Google loves clear, detailed instructions.
✔ Capture photos + videos
Take visuals of:
- ingredients
- key cooking steps
- close‑ups
- action shots
- final plated dish
Photos help readers understand your recipe, and they also help your blog show up in Google Images and Pinterest.
Treat this step like your own little test kitchen. The more you document now, the easier everything becomes later.
Step 2: Create & Save a Reusable Recipe Post Layout (Beginner-Friendly Gutenberg Walkthrough)
Think of this layout as your “recipe post template.” Once you save it, you can drop it into any new post with one click.
1. Build your layout inside a new post
Inside the WordPress editor:
- Add a Group Block
- Click the + button
- Search Group (this will hold your entire layout together)
- Inside the Group Block, add:
- Heading → recipe title
- Paragraph → introduction
- Image → insert image of recipe
- Heading → ingredients
- List → bullet list for the ingredients
- Heading → instructions
- List → numbered list of step by step
- Image → insert 2nd image of recipe
- WP Recipe Make block → recipe card
- Heading → call to action
- Paragraph → invite readers to comment or share
2. Saving to Reuse the layout
Once your layout is built:
- Click on the Group block
- Make sure the entire layout is selected
- You can click Ctrl and press A twice to select all
- You’ll see the blue outline around everything
- The right sidebar will say ‘group’
- This ensures you’re saving the entire layout, not just one section.
- Click the three dots in the block toolbar
- Choose Create pattern
- Choose Synced pattern (this means you can reuse it anywhere)
- Give it a name: Recipe Post Reusable Layout
- Click Create
You now have a reusable recipe layout ready to go anytime.

Step 3: Writing the Recipe Content (SEO-Friendly)
Here’s how to write your recipe in a way that feels friendly to readers and friendly to Google. Let’s use the pre-build layout pattern to write this recipe post. Head to your WP dashboard:
- Go to Posts → Add New
- Click the + button
- Open Patterns to find your saved pattern: Recipe Post Reusable Layout
- Let’s start replacing the placeholder text with your recipe content
Blog Post Heading
- write an engaging and captivating header
- include a long-term focused keyword
Introduction
- start with a warm, simple introduction
- keep it to the point but informative (people want to cook, not scroll forever)
Headers
- use H2, H3, and H4 formats
- helps readers skim easily
- helps search engines understand your post
Paragraphs
- write instructions by avoiding stiff and too formal language
- write how you’d explain the recipe to someone standing beside you
Lists
- these sections boost your SEO and make your recipe more useful and readable
- fill it with tips, ingredients, frequently asked questions or troubleshootings
- search engines loves posts that answer questions before readers ask them
Internal Links
- helps Google crawl your site and help readers discover more of your recipes
- link your recipe post to another similar recipe, category pages, and cornstone contents
Meta Description
- summarize your recipe in one friendly sentence for audience to understand
- include relevent keyword for search engine to understand
Slug
- keep it short and simple
- ranks better and looks cleanner
Update your posts over time → add new photos, tips, FAQs, or variations every few months. This is how you write a recipe that feels good to read and for search engines to rank..
Step 4: Photos & Videos (Your Visual Storytelling)
Your recipe might be delicious, but visuals are what make people stop, read, and save or share your post.
Why visuals matter:
- First impressions always count
- Readers want step-by-step clarity to follow
- Helps your blog show p in Google images
- They boost your Pinterest traffic
- Consistent visuals can make your brand feed polished
Before uploading
Rename your files with SEO-friendly names:
X IMG_1234.jpg
✔ egg-salad-sandwich.jpg
Uploading photos or videos
- Click the + block icon
- Select Image or video
- Upload or choose from Media Library (keep file sizes small for faster loading)
- Add a SEO-friendly name, description, caption, and more importantly add alt text describing what your image is (e.g., spicy egg salad sandwich with cheese). It helps both readers and search engines understand your images.

Step 5: Publish Your Recipe Blog Post
Before you hit publish, here’s a quick SEO checklist to go through.
Make sure your post includes:
- a helpful meta title and meta desription
- clear headings (H2/H3/H4)
- include a main focused keyword
- a few supporting keywords throught the post
- a clean, simple slug
- add categories and tags
- alt text on all images
- internal links to related posts or pages
- a complete recipe card
- tips, substitutions, and variation sections
- include a clear call to action towards the end
- When done Save as draft or Publish to go live immediately
Your first recipe post is a milestone — it’s where your blog goes from “setup mode” to “sharing your food with the world.”
Don’t aim for perfection, instead aim for connection.
Your readers are here for your food, your stories, and your voice.
Your First Recipe Post is Just the Beginning
You’ve cooked your recipe, created your layout, added visuals, optimized for SEO, and published with confidence.
This is where your food blog truly comes alive.
👉 Next up: Learn more about your audience so you can create content specifically to help them.
And if you haven’t signed up to a hosting yet:
👉 Start your food blog with Bluehost here
(It’s the same hosting I use — and you’ll get a sweet deal through my link)
If you’re ready to finally start your food blog without overthinking every step, I’ve put together a FREE 30‑Day Grid View Challenge — a simple day‑by‑day roadmap you can download or print. It’s perfect if you just want clarity, structure, and a gentle push to stay consistent.
But if you prefer a guided experience with daily instructions and walkthroughs, you can upgrade to the 30‑Day Food Blogging Challenge Step‑by‑Step Guide.
Start with the free grid.
Upgrade anytime if you want the full guided version.
Your food blog can absolutely begin today.
And don’t forget to check out what’s new on our shelf, you’ll find helpful blogging resources and stress-free meal planning printables to download or print.
Want an easier way to plan your meals?