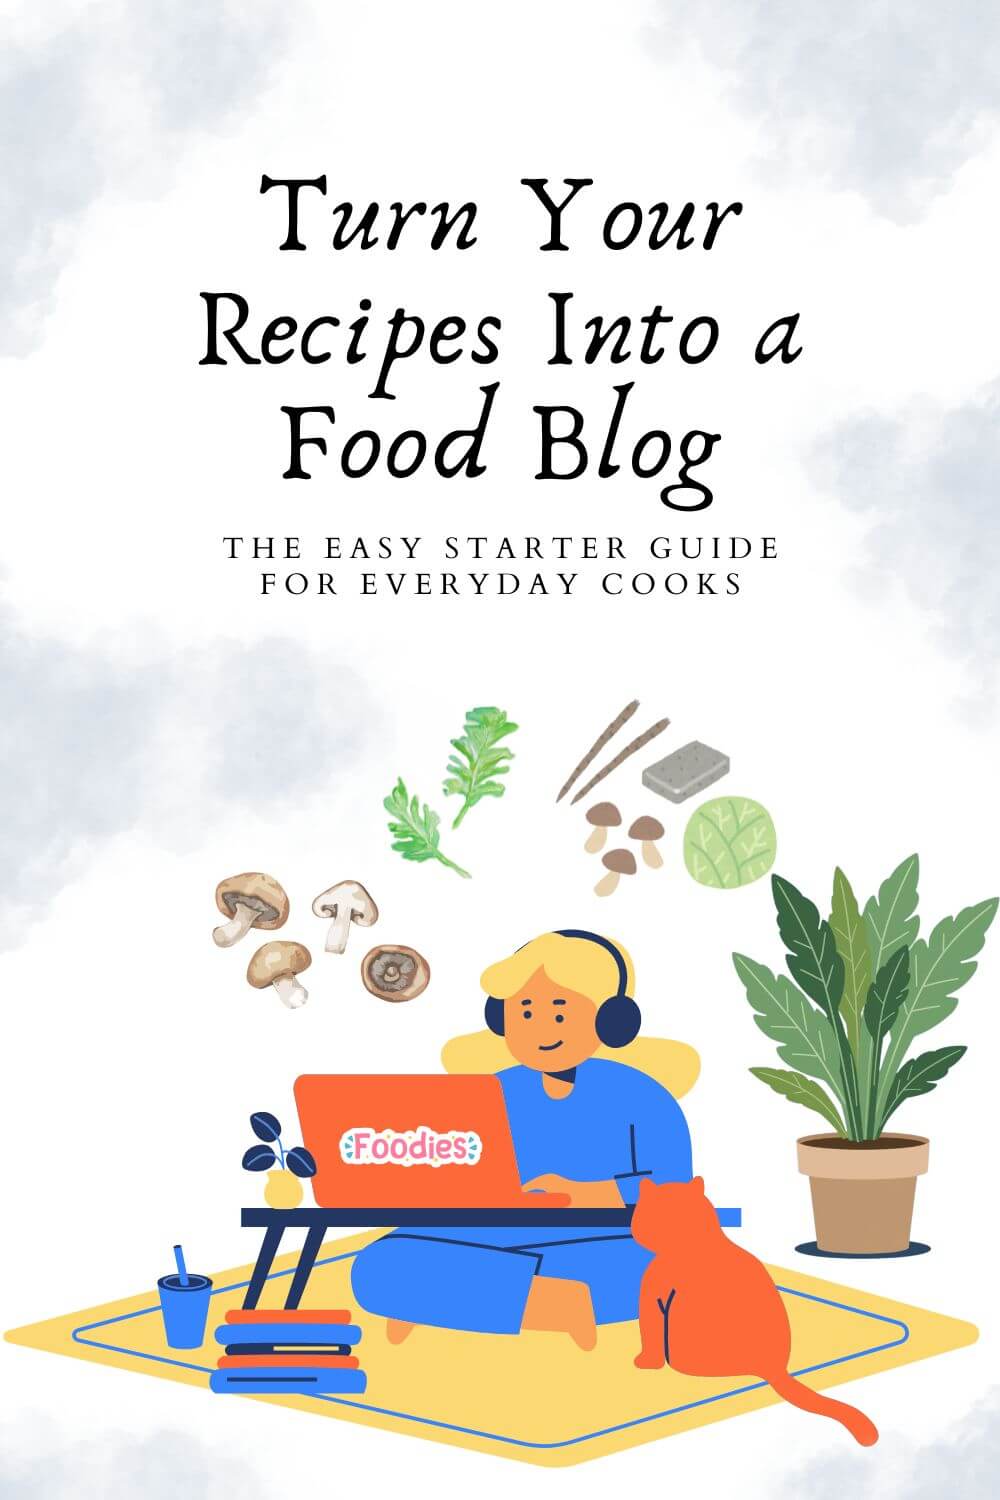
If you’ve been dreaming about starting a food blog but feel overwhelmed by the “tech stuff,” you’re in the right place. This is the first post in my Set Up Your Food Blog series — a beginner‑friendly roadmap designed for cooks, home chefs, and food lovers who want to share their recipes with the world without needing to be tech‑savvy.
Before you start writing recipes, uploading photos, or designing your blog, you need three things:
- Your niche (what kind of food you’ll be known for)
- Your domain name (your blog’s identity)
- Your hosting (where your blog lives online)
Think of this stage like opening a restaurant.
Before you serve your first dish, you need to know:
- What’s on the menu
- What the restaurant is called
- Where it’s located
Once these three pieces are in place, everything else becomes easier — your design, your content, your SEO, your growth.
Let’s walk through each step in the simplest, most beginner‑friendly way.
📣 Please note: Some links in this post are affiliate links. If you make a purchase through them, I may earn a small commission — at no extra cost to you. Think of it as a tiny thank‑you for sharing my favorite culinary finds. Your support truly means a lot.
Step 1: Choose Your Niche
Your niche = the type of food your “restaurant” is known for.
Your niche tells readers what kind of experience they’ll get when they land on your blog. It’s the flavor, the vibe, the personality of your content.
Ask yourself:
- What kind of recipes do I love making?
- What dishes do people always ask me for?
- What style of cooking feels most “me”?
- Who do I want to help or inspire?
You don’t need to niche down to something tiny — but having a clear direction helps the right readers find you faster.
💡 The more specific your niche, the easier it is to build trust, authority, and a loyal followers.
Step 2: Pick a Domain Name
Your domain = your blog’s name + address.
This is what people type in to find you. It’s your identity, your brand, your first impression. A great domain name is:
- Short
- Easy to spell
- Easy to remember
- Reflective of your niche or personality
Examples
- quickfix.com (personal + brandable)
- quickmealfix.com (niche + name)
- quickfixfordinner.com (descriptive + SEO‑friendly)
💡 If you’re stuck, use a free domain name generator like NameBounce or Namify. These tools spark ideas when your brain feels blank.
Step 3: Choose Your Hosting
Hosting = the land your “restaurant” is built on.
You can’t open a restaurant without a location — and you can’t start a blog without hosting.
Here’s the simple truth:
Free hosting = renting a tiny apartment with strict rules.
You don’t own it.
You can’t customize much.
You can’t install plugins.
You can’t run ads.
You can’t grow a real brand.
Self‑hosting = owning your space.
You get full control.
You can decorate however you want.
You can grow, expand, and monetize.
For beginners, I’d recommend Bluehost and I personally use this platform and here’s why:
- Beginner‑friendly
- Easy to setup + 24/7 support
- Free domain for the first year
- includes SSL security
- Officially recommended by WordPress
- Exclusive tools and blogging resources to maximize your potential
- The best part it, Berrychik readers can get a lower deal, if purchase it through my affiliate link: BERRYCHIK
If you’ve been waiting for the “right time” to start your blog… this is it. The tools are ready. The deal is live. Your recipes deserve a home.
💡 Sign up with Bluehost here today to get started.

What’s Next?
Once you’ve locked in your niche, domain, and hosting, it’s time to start building your blog from the inside out.
Next up in the Set Up Your Food Blog series:
👉 How to Use WordPress Like a Pro (Beginner‑Friendly Walkthrough) – You’ll learn how to log in, navigate your dashboard, and get comfortable inside WordPress.
I felt like I was juggling two kitchens at once when I first started building my own food blog… and now, I plan my meals for the busiest week to focus on what matters most.
Grab a copy for yourself too, this DIY Meal Planner will help you stay organized while you build your blog without burning out.
It’s simple, printable, and perfect for new food bloggers who want to keep both kitchens alive.
👉 Grab your DIY Meal Planner, it’s FREE!
👉 Start your blog with Bluehost here (affiliate link)