Back to the Set Up Your Food Blog series! In the last post, we discussed on basic SEO for food bloggers. It’s one of the most important steps to add so that your recipes, blog posts, and even your pages gets seen by as many eyes as possible.
Now it’s time to build all the essential pages to your food blog.
If your WordPress theme is the décor and your plugins are the gadgets, then your SEO is the lighting—the thing that helps people actually see your content. And your pages? They’re the main rooms your readers will walk into. These pages help people understand who you are, what you offer, and how to navigate your website in a way that feels clear, welcoming, and easy.
And don’t worry — you don’t need to write a novel or design anything fancy. Just simple, clear, beginner‑friendly pages that make your blog feel complete.
Let’s build them together.
📣 Please note: Some links in this post are affiliate links. If you make a purchase through them, I may earn a small commission — at no extra cost to you. Think of it as a tiny thank‑you for sharing my favorite culinary finds. Your support truly means a lot.

The 6 Essential Pages Every Food Blog Needs
Before you publish your first recipe, your blog needs a few core pages. Let’s walk through each one, step by step.
1. About Page — Your Story, Your Flavor
Your About page is one of the most‑visited pages on any given blog. This page doesn’t need to be long — just warm, personal, and real.
People want to know who’s behind the recipes, why you started blogging, what makes your cooking unique, and what readers can expect from you.
The page should include:
- a short friendly intro + your photo (if using one)
- your cooking background or cultural roots
- what inspired your blog
- who your blog is for
2. Contact Page — Make It Easy for People to Reach You
Brands, readers, and collaborators need a simple way to contact you. Your Contact page can be as simple as:
- a short message
- a contact form (use WPForms Lite)
- your email address (optional)
3. Recipe Index — Your Blog’s Menu
This is the page readers will return to again and again. At first let it be just recipes — you can always expand to sub-menu categories later as you grow. Your Recipe Index helps people:
- browse your recipes
- find dishes by category
- explore your content easily
4. Privacy Policy — Required for Legal + Affiliate Compliance
If you use affiliate links, collect emails to send newsletters, use analytics, or run ads, you must have a Privacy Policy.
You can generate one using:
- WordPress’s built‑in Privacy Policy template
- or a free online generator
5. Subscribe Page — Start Growing Your Email List Early
Even if you don’t plan to send newsletters yet, start collecting emails now. Your Subscribe page can include:
- a short message
- what readers will get (recipes, tips, updates)
- a signup form (Mailchimp for WP works great)
- offer a freebie to encourage signups

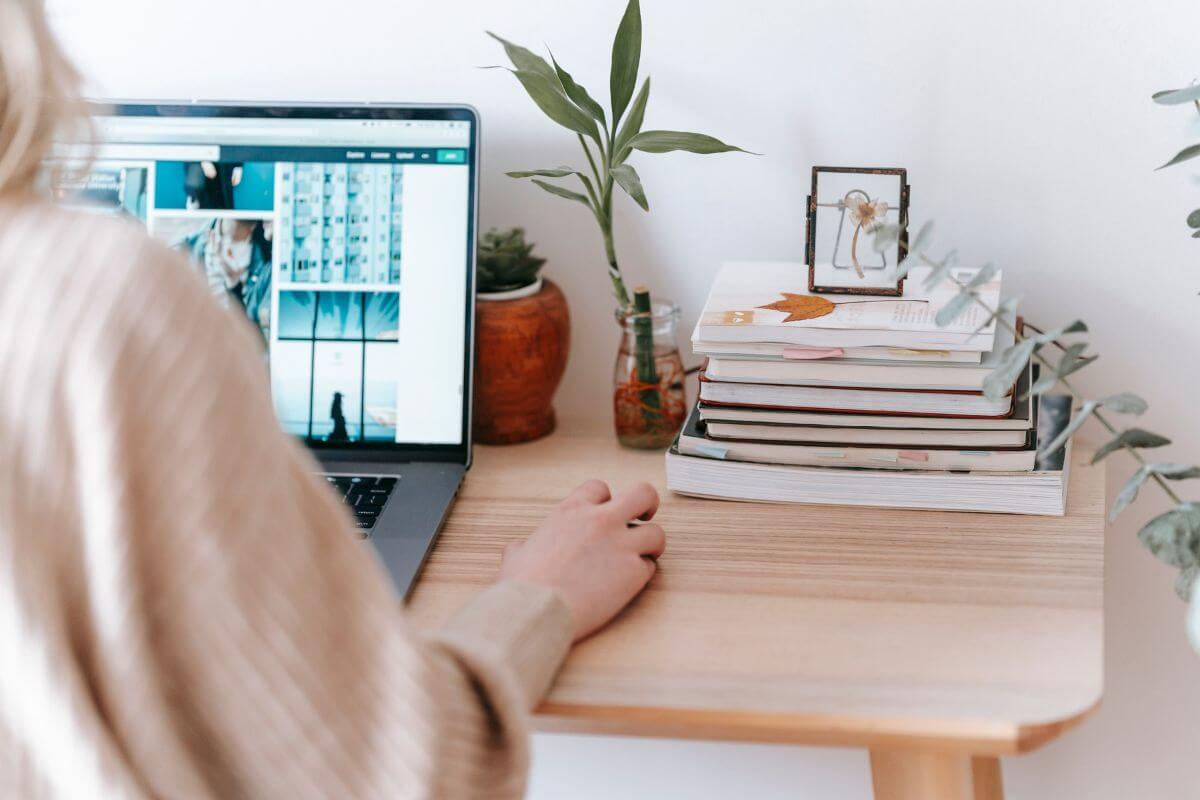
How to Create a Page in WordPress
Inside your dashboard:
- Go to Pages → Add New
- Add your title (About, Contact, Recipe Index, etc.)
- Add your text + images
- Click Publish
That’s it — no coding, no stress.
Add Your Pages to Your Website Menu
Your menu helps readers navigate your blog easily. Keep it simple because too many links can overwhelm readers.
To add your essential pages to your menu, go to WP dashboard: Appearance → Menus.
Add Home page, About, Recipes / Recipe Index, Contact, and Subscribe page.
Drag to rearrange → Save.
You’re Building the Heart of Your Blog
These pages are the foundation of your food blog — the places where readers learn who you are, what you offer, and how to explore your recipes.
You’re not just building a basic website. You’re building a home for your creativity, your culture, and your cooking. And if you’ve come this far… you’re doing it beautifully — one step at a time.
What’s Next in the Series?
Now that your essential pages are ready, it’s time to create your first blog posts.
👉 Next up: How to Write Your First Blog Posts (Recipes + Helpful Content)
👉 Previous post: Basic SEO for Food Bloggers | Beginner‑Friendly SEO Guide
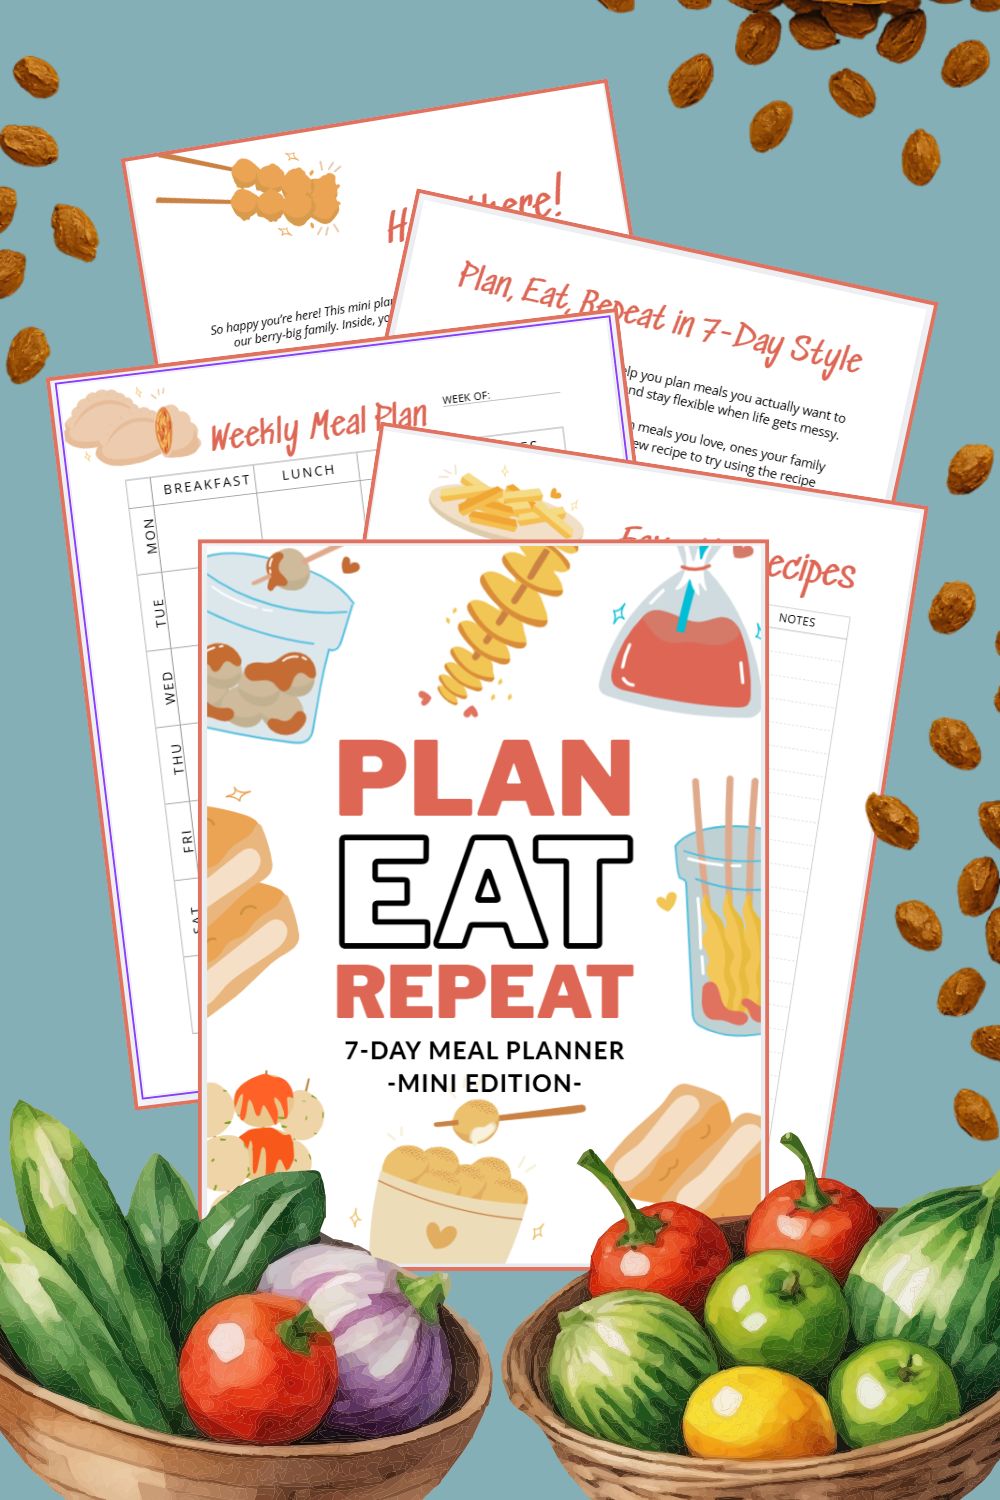
Back when I was setting up my own food blog, I struggled to keep my day-to-day tasks running smooth. It felt like I was juggling two kitchens at once.
Which is why I created a DIY Meal Planner — to help stay organized while building a blog without burning out. It’s simple, printable, and perfect to keep both kitchens alive.
If you are not ready to commit to a monthly meal planner yet, try my FREE weekly planner below. Give it a chance and see how meal planning takes away the day-to-day stress so you can put all your energy towards building a business around your food.
👉 Grab your DIY Meal Planner here (It’s Free)
👉 Start your food blog with Bluehost here (this link provides a place to start your food blog, offers the best deal for all my foodies. grab it while it’s available)
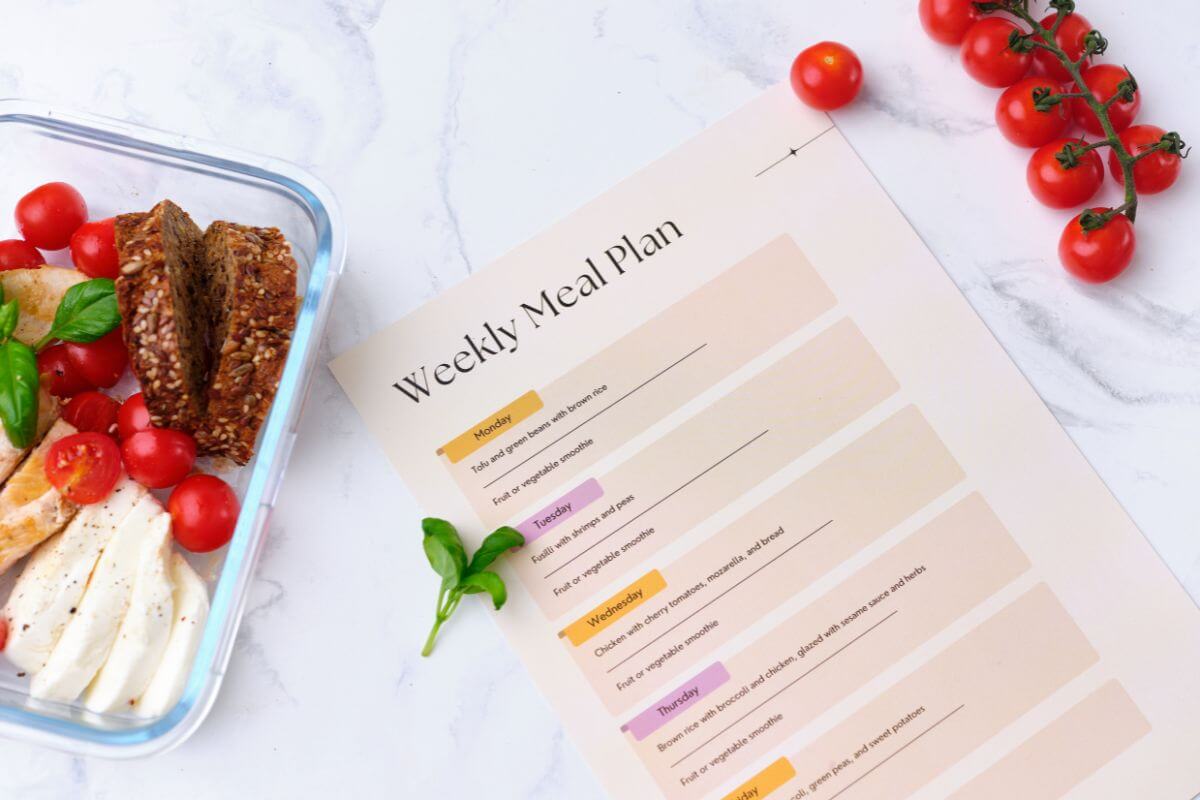
Want an easier way to plan your meals?